Summary: Many people switch from one email application to another to take advantage of better features and improved productivity. In recent years, Microsoft Office 365 has gained significant popularity because of its reliable performance and advanced tools. As a result, numerous users now look for ways to transfer their existing email data into Office 365, including MBOX files. To ensure a smooth, safe, and efficient migration, using a dedicated MBOX Converter tool is often the most effective solution.
MBOX files keep all email messages together in one simple text-based format, making them easy to access across multiple applications and operating systems. This flexibility allows users to read, store, or move their emails without much effort. In contrast, Microsoft Office 365 provides a modern environment with a wide range of advanced capabilities designed to streamline daily tasks. Its built-in security safeguards help protect sensitive data, while its integrated email, calendar, and collaboration tools support efficient communication and organized workflow management.
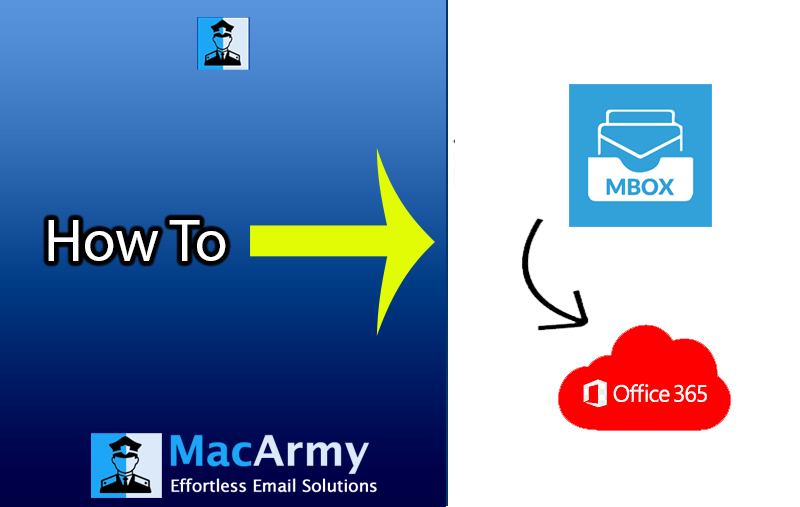
Import MBOX to Office 365 – A Practical Approach
If you’re wondering how to move MBOX data into Office 365, this section will guide you through the available options. Windows users can choose between a manual technique and an automated solution, although the manual route is often time-consuming and suitable only when dealing with a small number of files. Mac users, however, must rely on an automated tool, as no built-in manual method exists for them. Below, we’ll take a closer look at the manual process designed specifically for Windows systems.
#1. Manually Import MBOX to Microsoft 365 – For Windows Users
To move MBOX data into Office 365 using the manual approach, you must complete several stages. These include:
- Converting MBOX files to EML
- Adding the EML files to Outlook
- Exporting those EML messages to a PST file
- Uploading the PST file to Office 365
After finishing these four phases, your MBOX emails will be successfully transferred to Microsoft 365.
Step 1: Export MBOX Files as EML
- Launch an email program that supports MBOX files, such as Thunderbird.
- Import all your MBOX files into Thunderbird from your computer.
- Select the imported emails and drag them to a folder on your system.
- Thunderbird will save the dragged messages in EML format at the chosen location.
Step 2: Move EML Files into Outlook
- Open Microsoft Outlook.
- Create a new folder within Outlook to store the transferred emails.
- Drag the EML files from your system and drop them into this newly created folder.
Step 3: Convert EML Files to a PST File Using Outlook
- Start Outlook.
- Go to File – Open & Export – Export.
- Select Export to a file and click Next.
- Choose Outlook Data File (.pst) and continue with Next.
- Pick the folder that contains the imported EML messages and press Next.
- Select a destination path for the PST file.
- Click Finish to begin the export.
Step 4: Import the PST File into Office 365
Before continuing, ensure that Outlook is properly synced with your Office 365 account.
- Open File – Open & Export – Import.
- Choose Import from another program or file, then click Next.
- Select Outlook Data File (.pst) and hit Next.
- Browse your system and choose the PST file created earlier.
- Click Finish to upload the PST file into Office 365.
As you can see, this procedure is time-consuming and involves many steps, which can increase the risk of data corruption or loss. If this method seems overwhelming or unsafe, an automated tool offers a faster, more reliable, and error-free way to import MBOX files into Microsoft 365.
#2. Automated Method to Import MBOX into Outlook 365
If you need to migrate several MBOX files, or very large ones, the most efficient approach is to use the MacArmy MBOX Converter for Mac. This tool offers a simple, user-friendly interface and supports direct migration of MBOX data into Office 365, Gmail, and various other email platforms. It also includes multiple productivity-enhancing options, such as removing duplicate items, choosing specific emails for transfer, and more. With this utility, you can expect accurate, secure, and fast results within moments.
How to Import MBOX Files into Office 365 – Step-by-Step Guide
Use the instructions below to successfully move your MBOX data into Microsoft 365:
- Install and launch the MBOX to Office 365 Converter software.
- Select Add Files or Add Folders to upload your MBOX file, then click Open – Next.
- Review the contents of the imported file, choose the items you want to migrate, and click Next.
- From the Save As Options menu, choose Office 365.
- Provide your Office 365 login details and select Sign In.
- Click Export to begin transferring your MBOX files to Microsoft 365.
Conclusion
This article outlined both manual and automated ways to import MBOX data into Office 365. Windows users can select either option, depending on the number of files they need to migrate. The built-in method works well for a small amount of data, but the automated solution is far more reliable and completes the task quickly. Moreover, the professional tool operates smoothly on both Windows and macOS, delivering consistent performance across platforms.